Setting up your first tracker
A step-by-step guide to adding a car, entering the code from the box and plugging in the tracker.
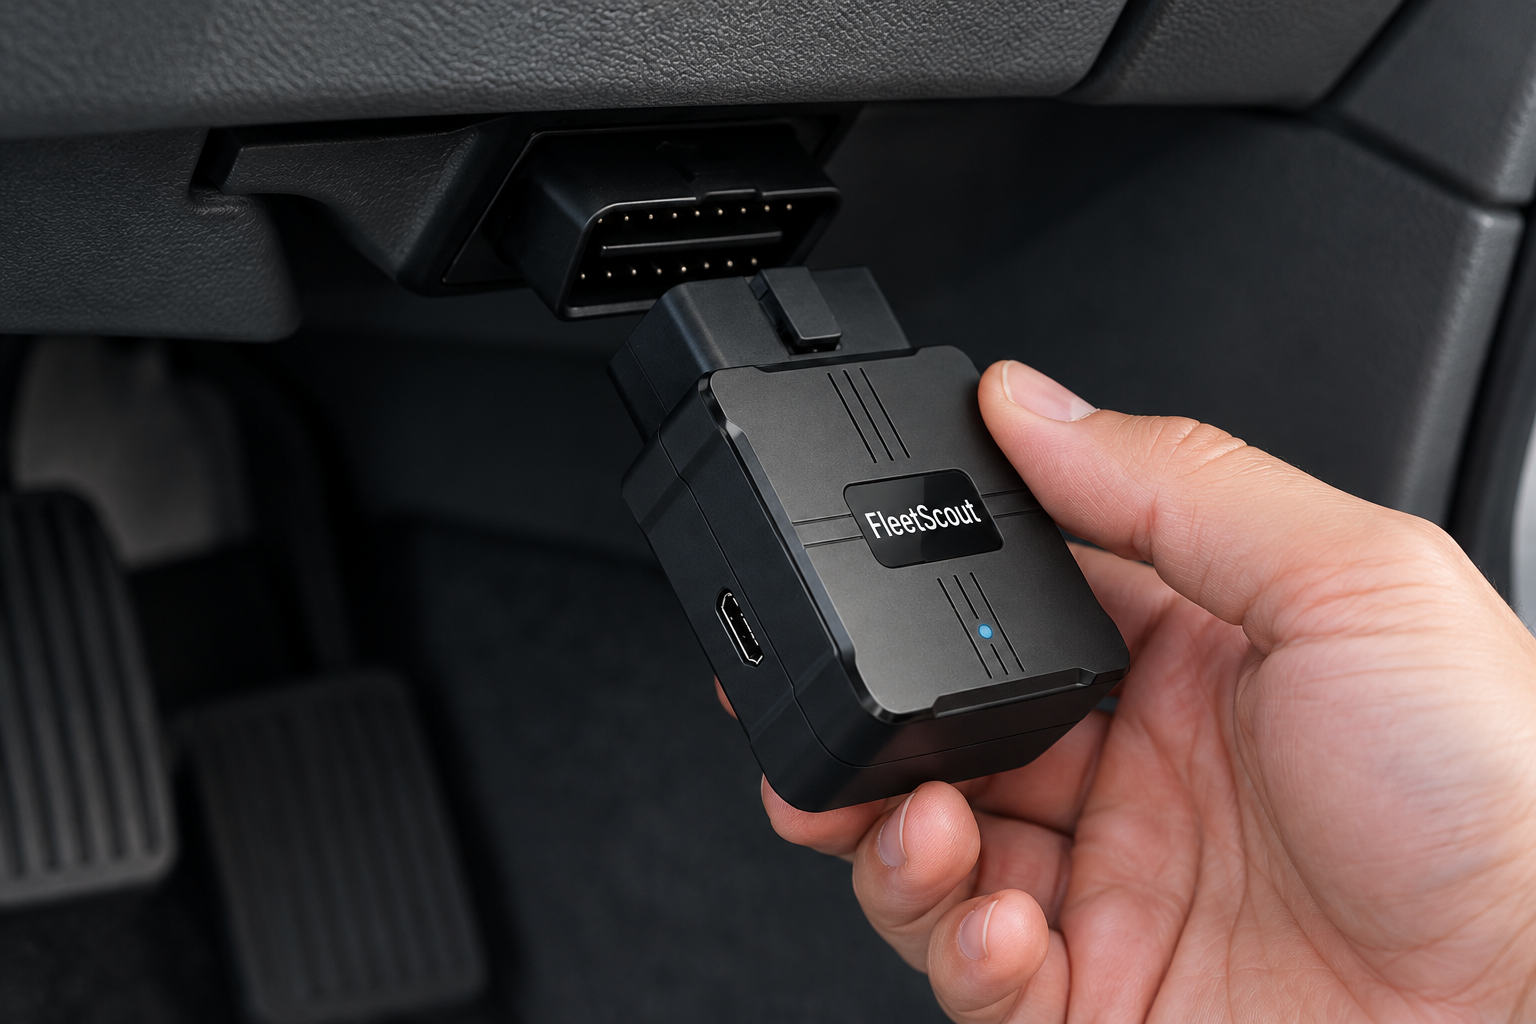
Your tracker arrived. Here’s the whole setup, in the order that works best: check the port, add the car in the app, activate with the code from the box, pay on Stripe, then plug in.
Before you start
You need three things: the box with your tracker, your phone, and your car.
First, check that your car has the port under the dashboard. Most cars sold in the US from 1996 on do. If you can’t find it, look in your car’s manual or write to [support email].
Some electric cars don’t report fuel, battery or engine readings. Location and trips still work on those.
1. Open the app and sign in
Download the Ruta app for iPhone or Android and create an account with your name and email. If you’re a co-host, sign in with the email the owner shared with, and their cars show up for you.
2. Add the car
Tap to add a car. Give it a name you’ll recognize, like “Blue sedan,” then add the make, model and year. A VIN is optional, and so is a photo. A photo helps when you manage more than one car.
3. Enter the code from the box
Find the activation code in the box. Scan or enter it in the app. This ties the tracker to the car you just added.
4. Choose a plan and pay
Choose monthly or yearly in the app. It opens Stripe’s secure checkout page to pay, then brings you back to the app. Ruta never sees your card number. There’s no free trial, and the plan starts when you activate the tracker.
You can end service later in the app. The tracker keeps working until the end of the period you paid for.
5. Plug in the tracker
Find the port under the dashboard and push the tracker in firmly. It has a built-in cellular connection, so it doesn’t need Wi-Fi or your phone.
Go back to the app. It runs installation checks and tells you what to do if something needs another look. The first signal can take a little while to appear, so be patient before you move the tracker.
6. Look at the map
Once the tracker reports in, your car appears on the live map. While it’s driving, you see it live. When it’s parked, you see its last known spot.
7. Set up a few helpers
Two quick things make Ruta more useful from day one:
- Saved places. Add Home, or an airport lot, and get arrival and departure alerts.
- Alerts. Choose what you want to hear about: speeding, harsh driving, low battery, low fuel, check engine, tracker unplugged or no recent signal. Fuel, battery and engine details appear only where the car reports them.
You can also add Care reminders for maintenance, by miles or by time, and keep your service history in one place.
If something looks off
- No signal yet: check that the tracker is pushed all the way in.
- Tracker unplugged alert: it was pulled out. Check that it’s seated, and that nobody removed it.
- No fuel or battery readings: your car may not report them. Location and trips still work.
If you’re still stuck, write to [support email].
Setting up the next car works the same way, and the Ruta tracker is in the shop.